First steps with localeUI
Here you can find out how to get started with localeUI. From creating an account and creating your first project to managing languages and translations.
LocaleUI is a web-based localisation and translation management platform for faster and more efficient translation management for development and project teams.
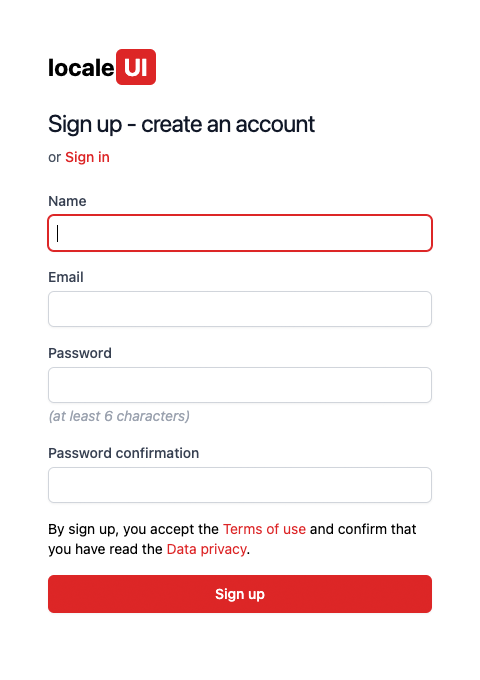
Create a free account or sign up using your Facebook, X (formerly Twitter) or Github account. A credit card is not required.

After you have successfully registered, you will receive an email with a link to verify your email address. After verifying your email address, you can get started right away and create your first project.
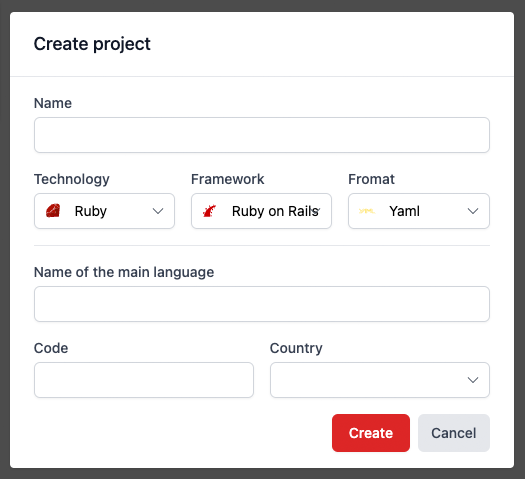
The Create project button is located at the top right of the project overview. Using the button opens a form for creating a new project.

Enter the name of the project. Use the Technology, Framework and Format fields to define the corresponding settings for your project. These are used to set import and export settings. These can also be changed later.
Finally, define the main language. The name of the main language, the code and the country must be defined for this. With the main language, you define the first language of the project that will be used as a reference for the other languages.
Next, you can import content from your project. To do this, upload the language files from your project to localeUI.
Find out more about uploading language files at Importing content
Once you have imported content from your project, you can start translating and managing language keys.
Find out more about translating and managing language keys at Translating keys.
To be able to translate language keys into new languages, you must first store the new languages in the system as long as they are not part of the language files.
Find out more about how you can manage languages at Manage language.